Dithering
I’m using didder. I’ve had the most success with limited color palettes (3 max) and preprocessing the source image a bit. In this case I’m using this.
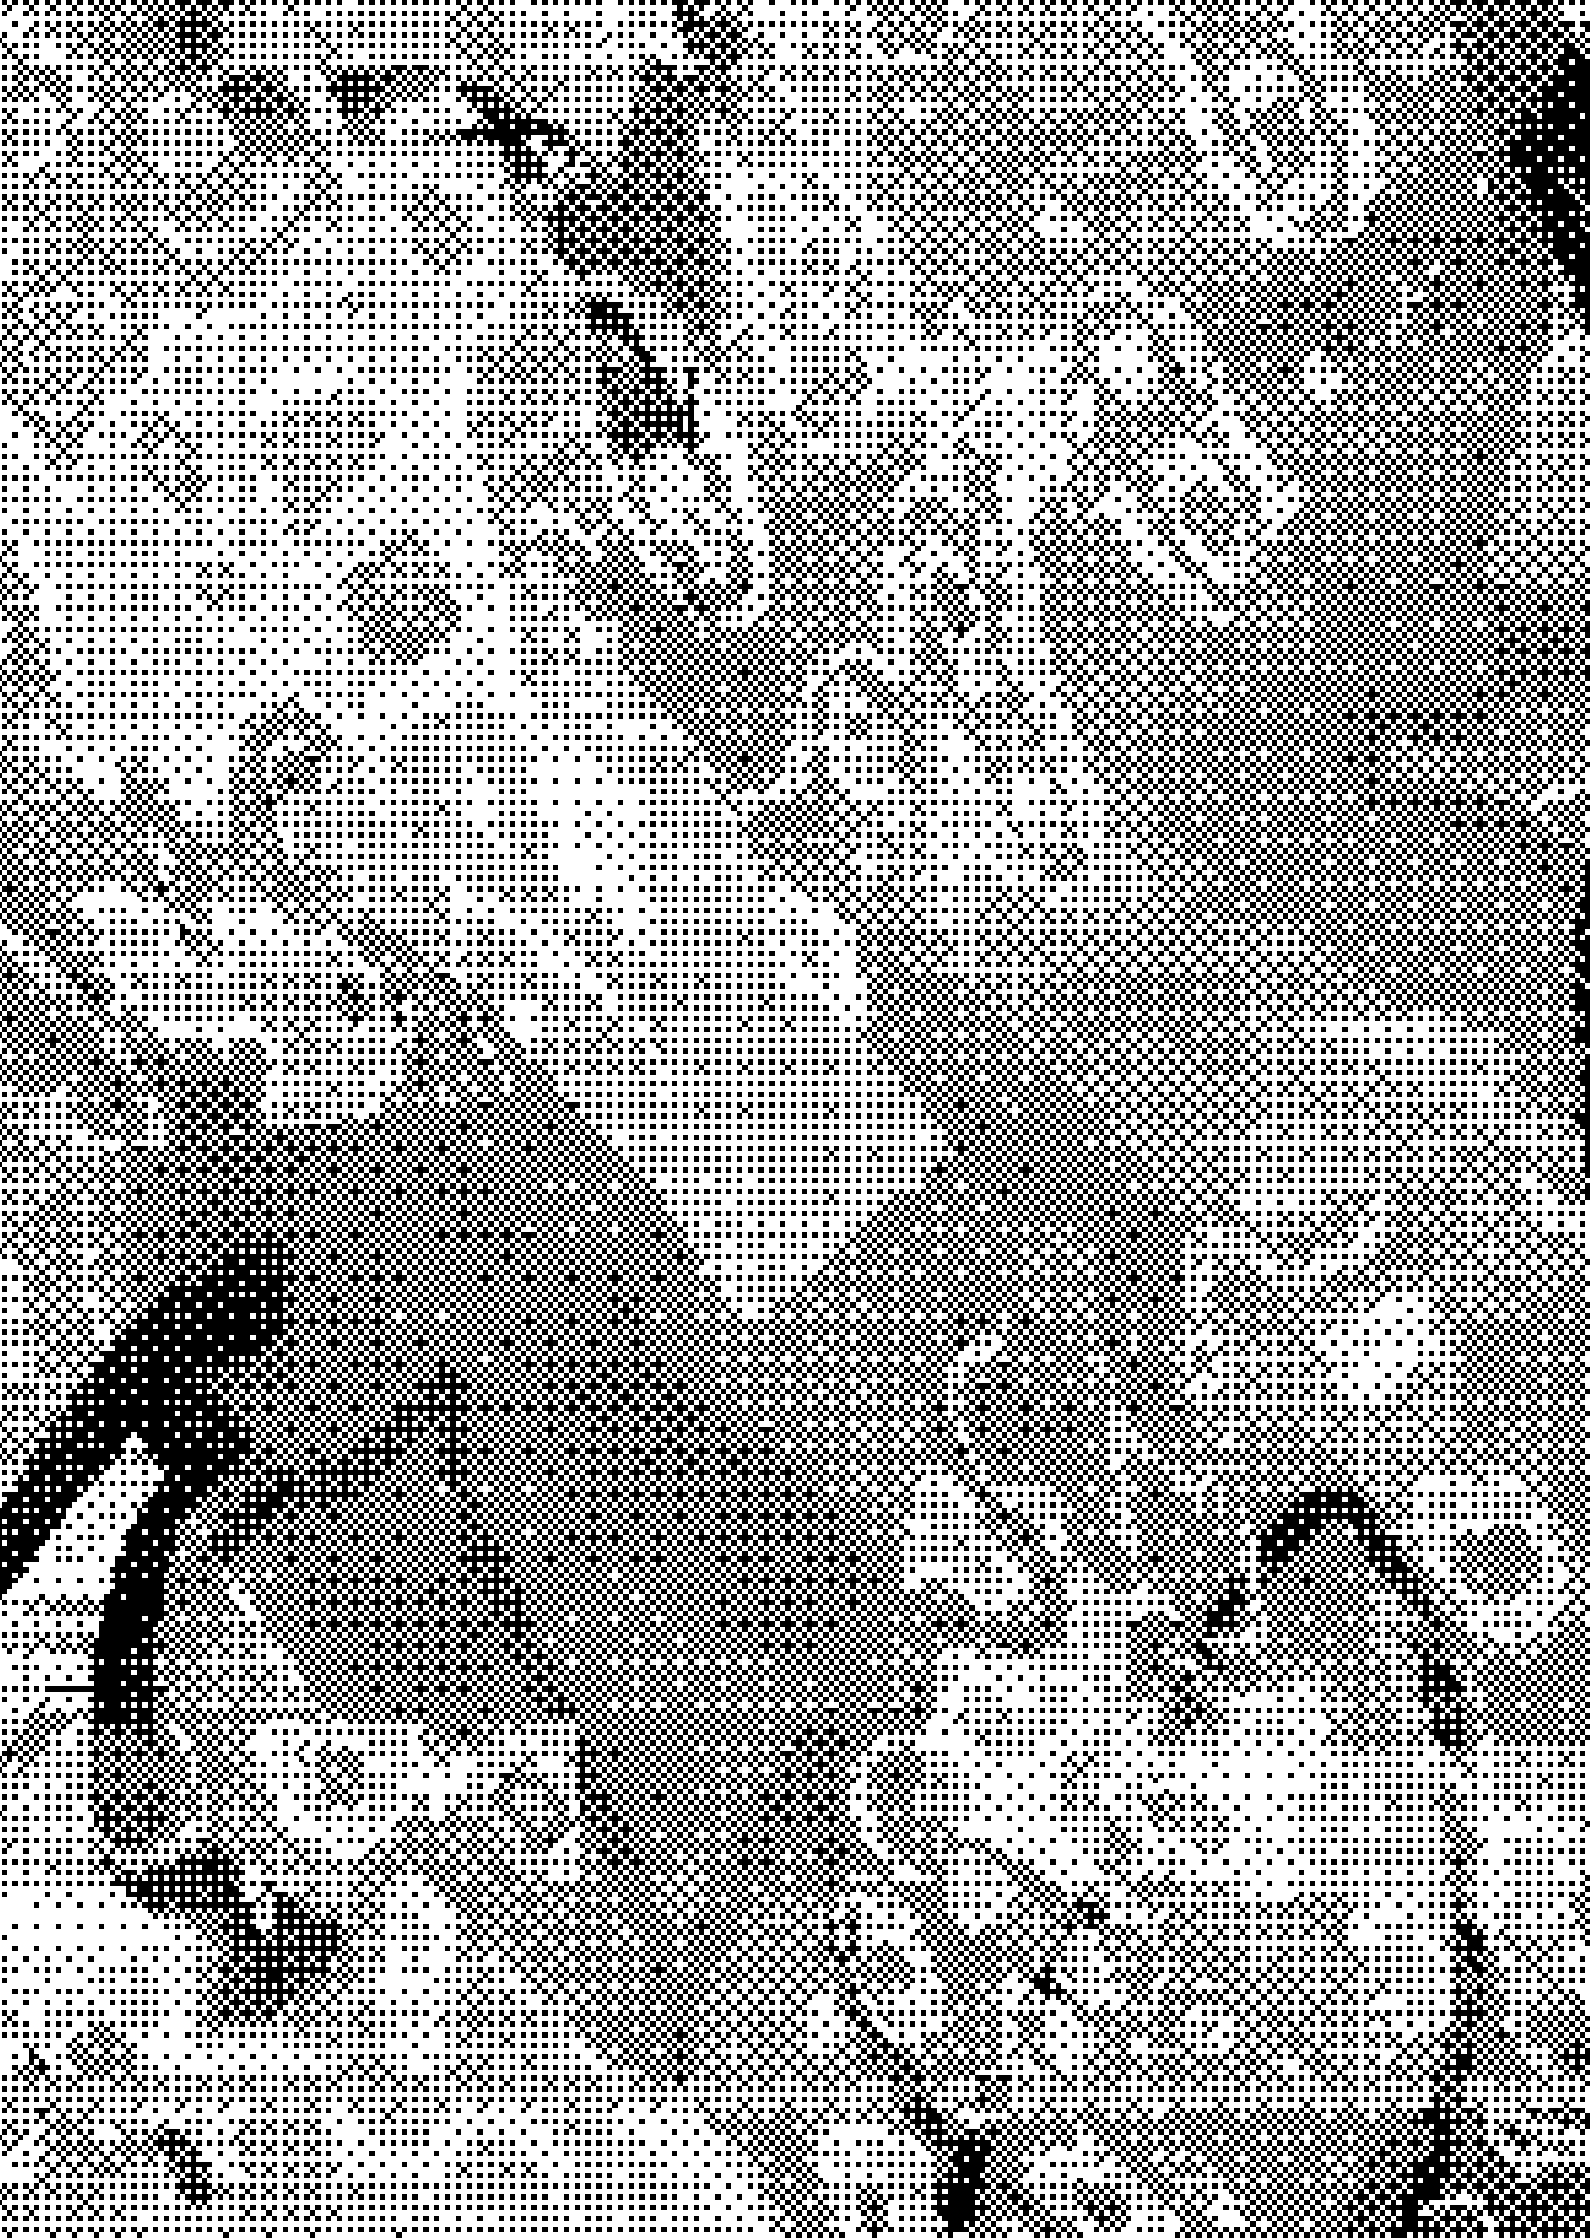
- I did some slight posterization to reduce some of the detail and then scaled the image down (with the longest side being around 1000 px, this image had an original width of 4200 px). I like the results of smaller images as the dithering texture comes out chunkier.
I don’t think posterization is necessary and may not even be useful depending on your source image. Posterization is probably in most art software. In csp it’s under Edit > Tonal Correction > Posterization. I believe levels correspond to the number of value levels but less levels also reduces the number of colors. I don’t reduce it to the point that the number of levels is equal to the number of colors I specify in didder.
- Apply dithering. This algorithm recommends using recolor but I didn’t particularly like those results. To set the palette I generate some random colors using this website as a starting point. I don’t worry about that too much because I’ll change colors later. I could probably do it in greyscale here but I like looking at colors. Although, it is helpful to maintain a wide range of value at this point. For the actual dithering, I’ve typically leaned toward having strength set to -1 and using the command bayer 64x64. I recommend messing with the settings and creating a lot of iterations to figure out what works for you I scale the image back up with didder. This can be done in an art program but make sure to use hard edges (nearest neighbor) for the interpolation method.
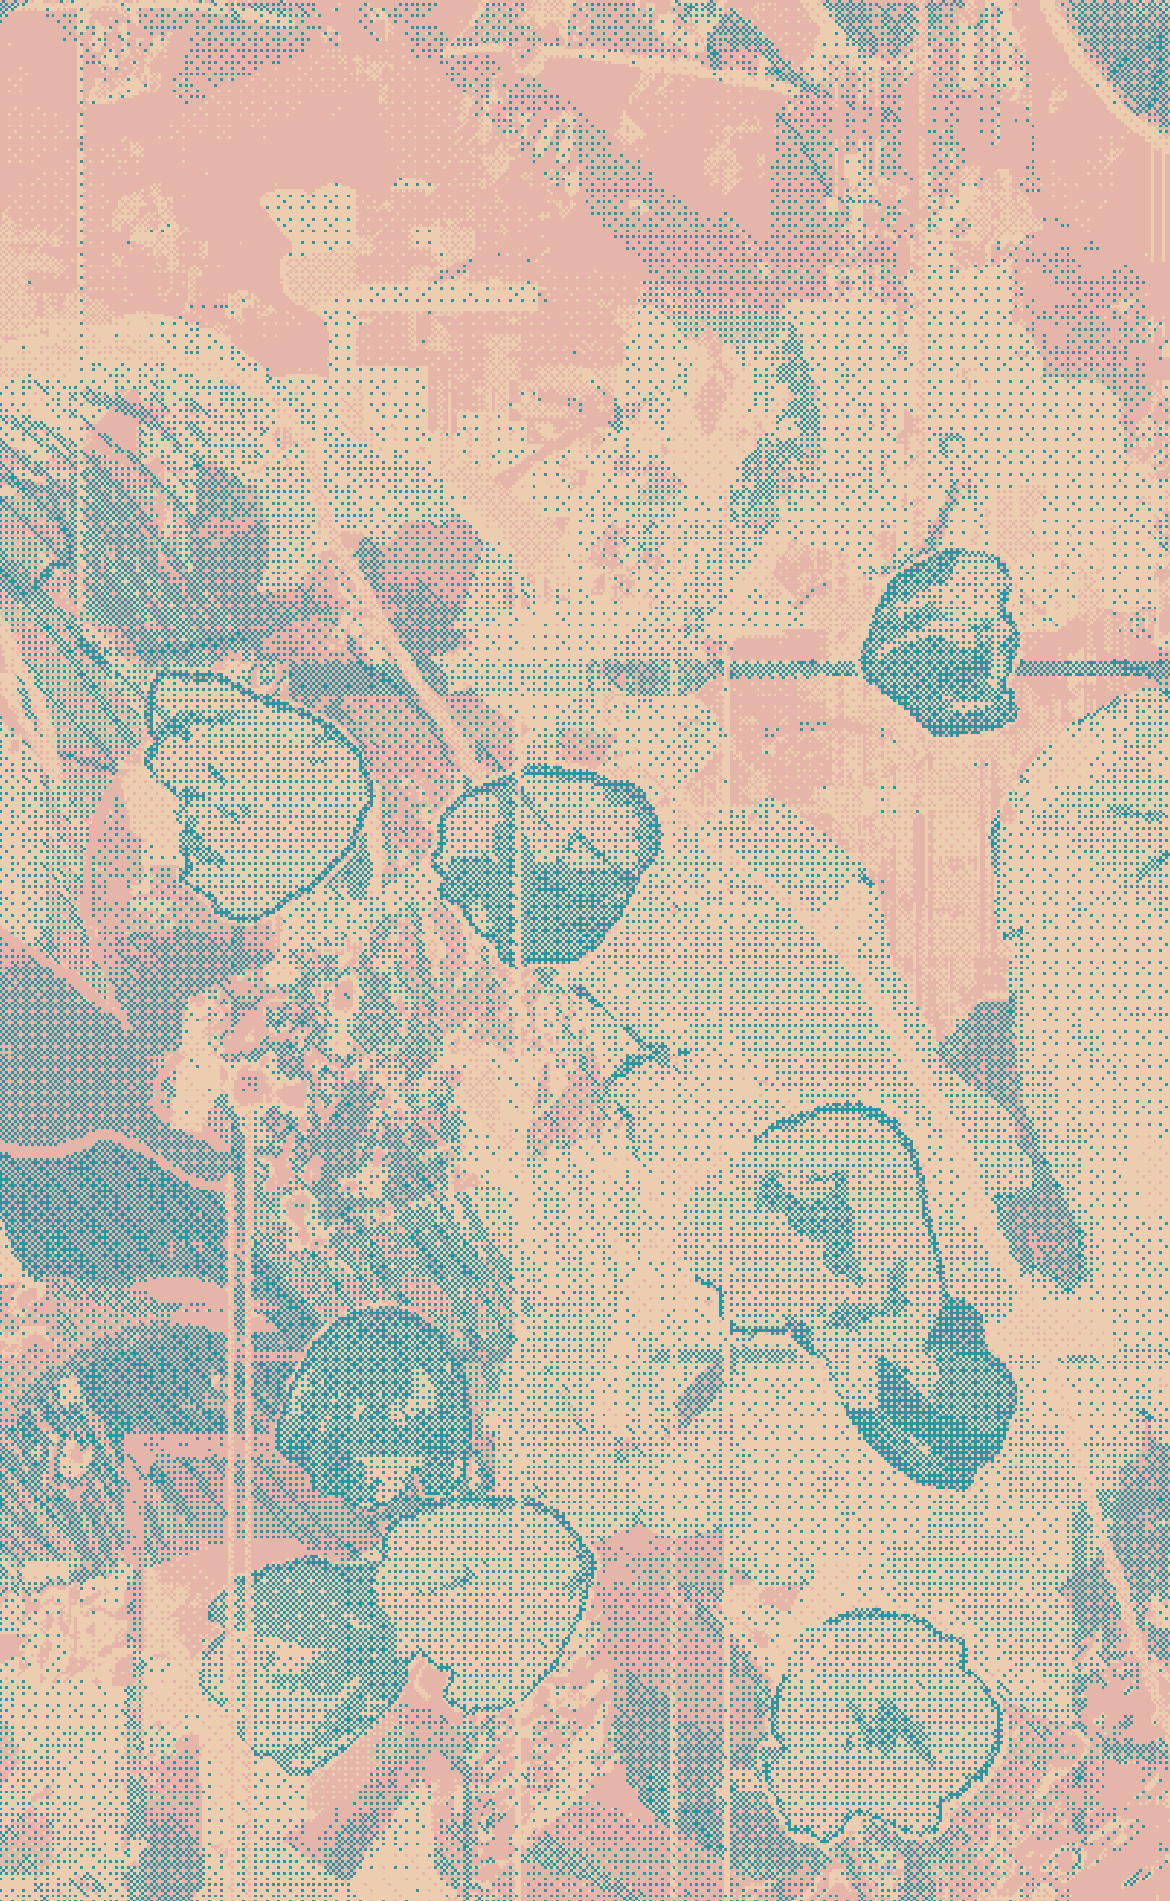
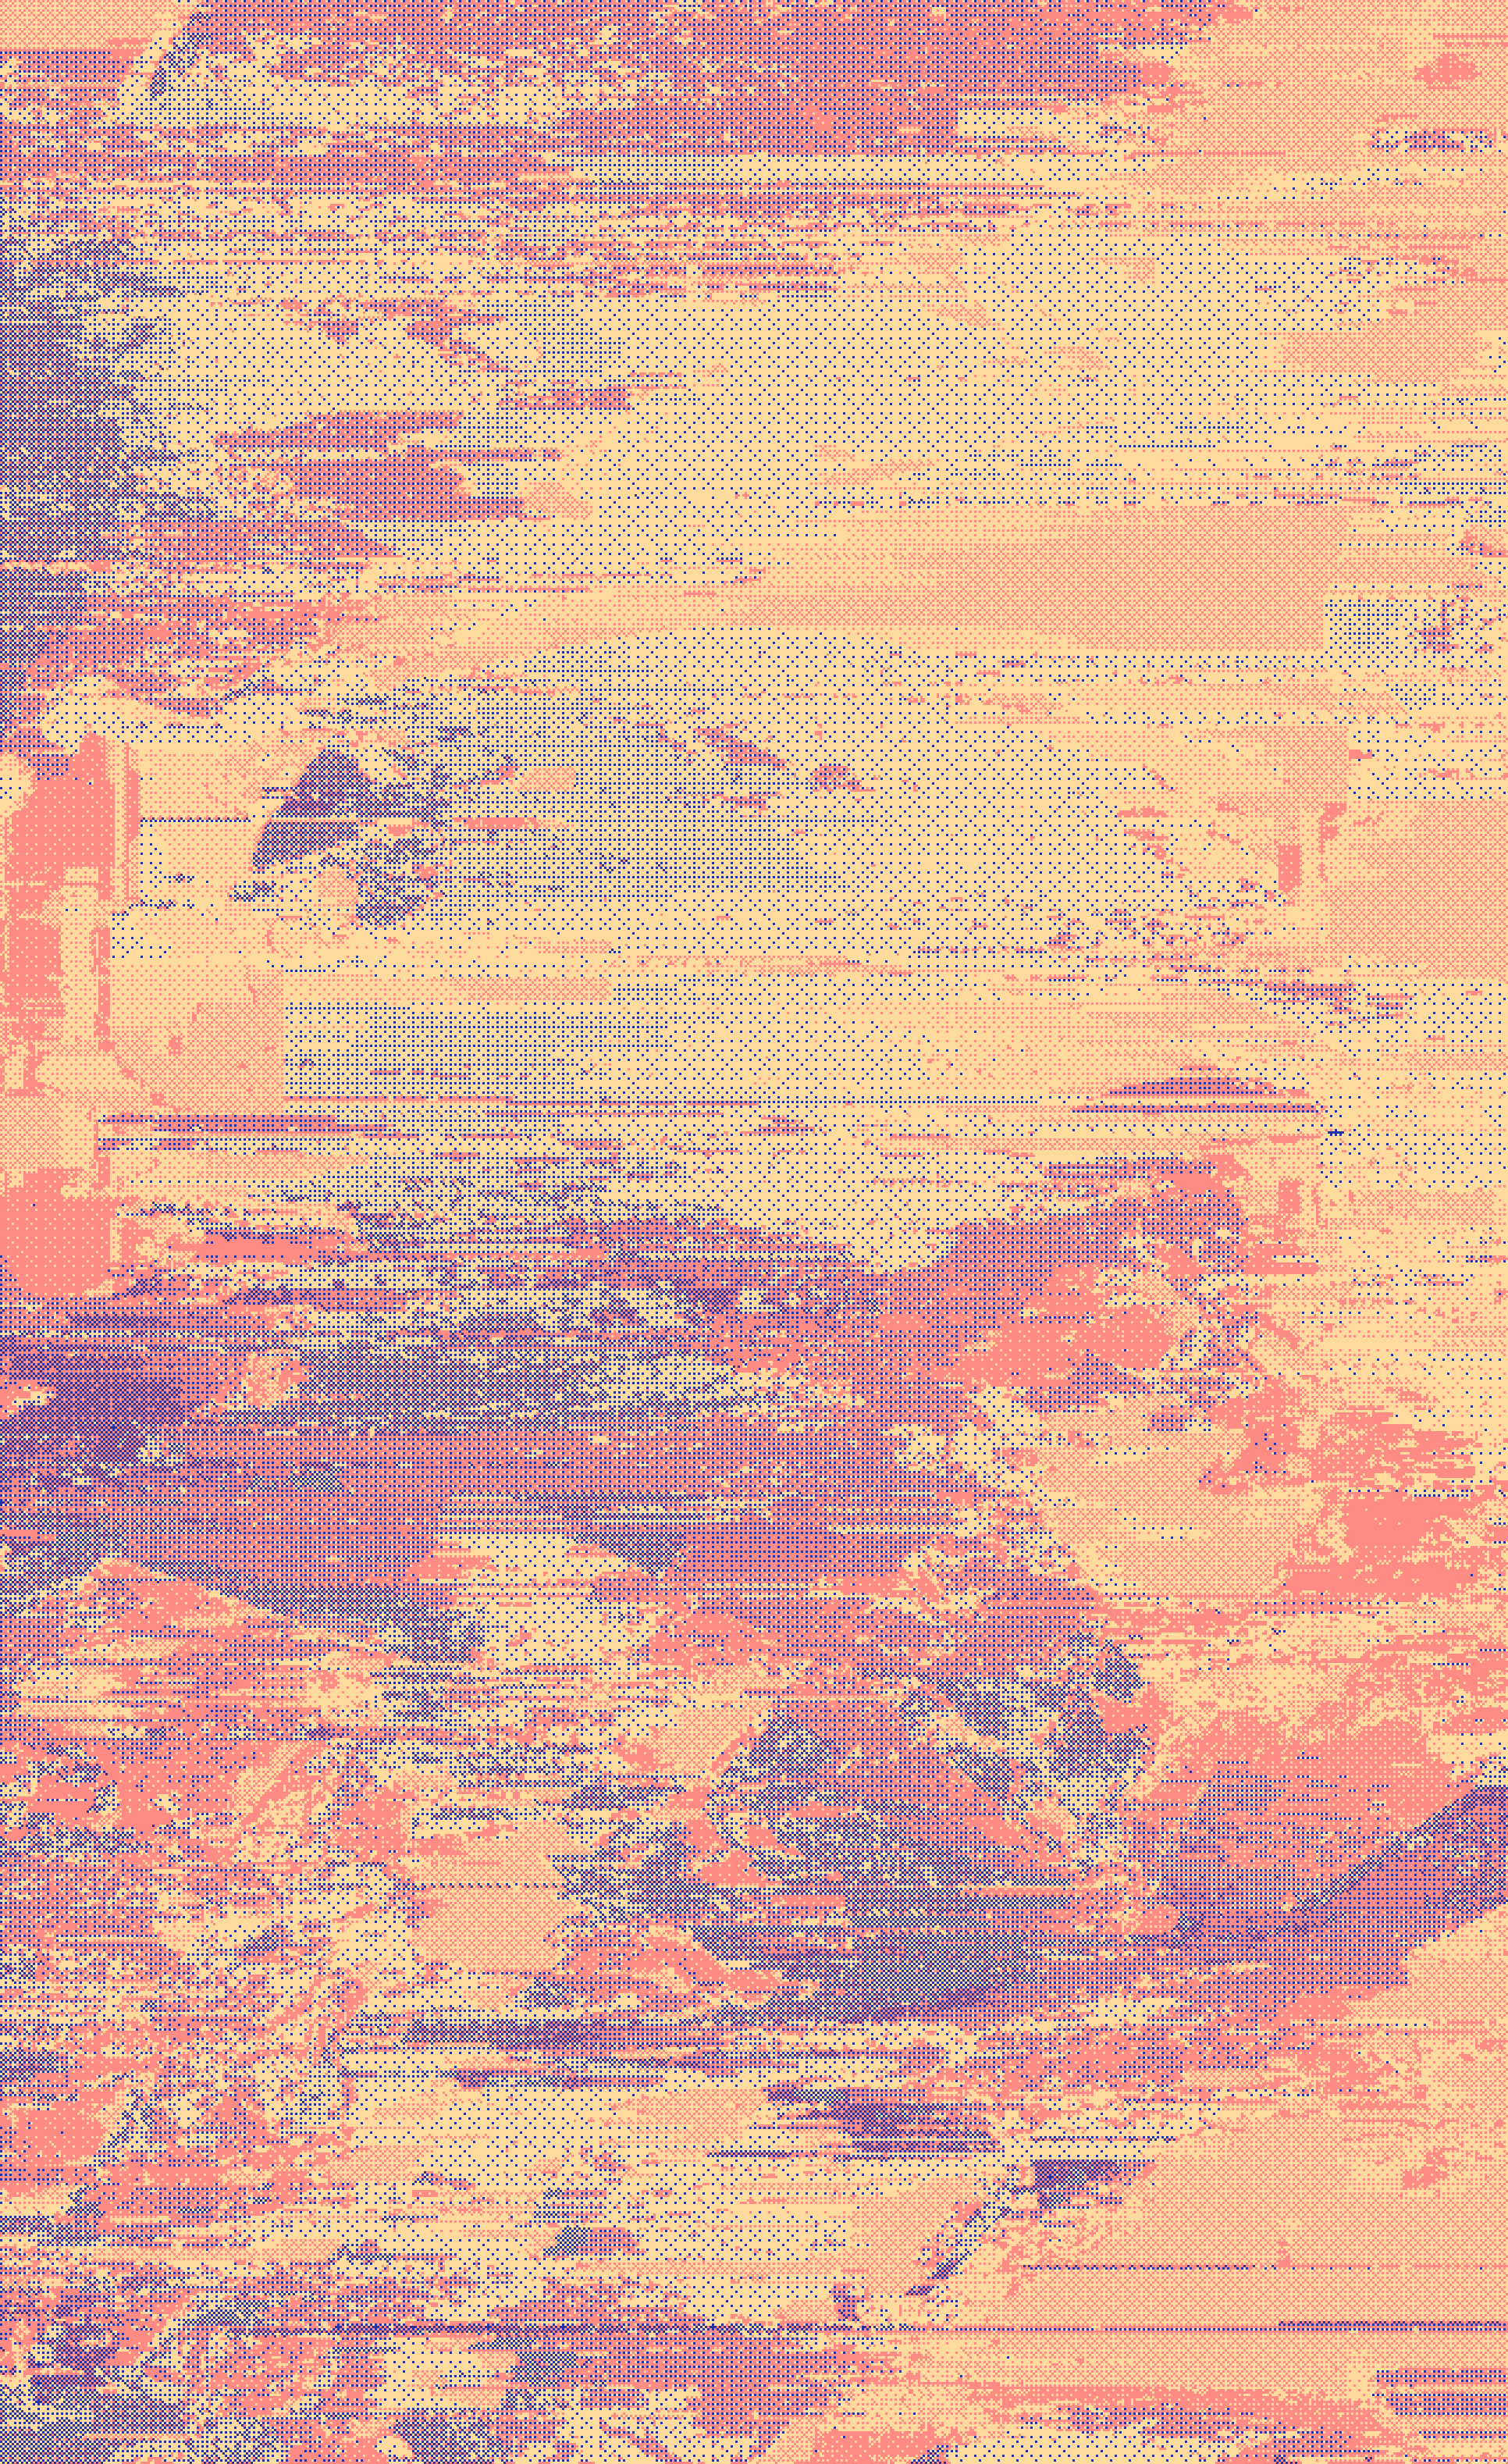
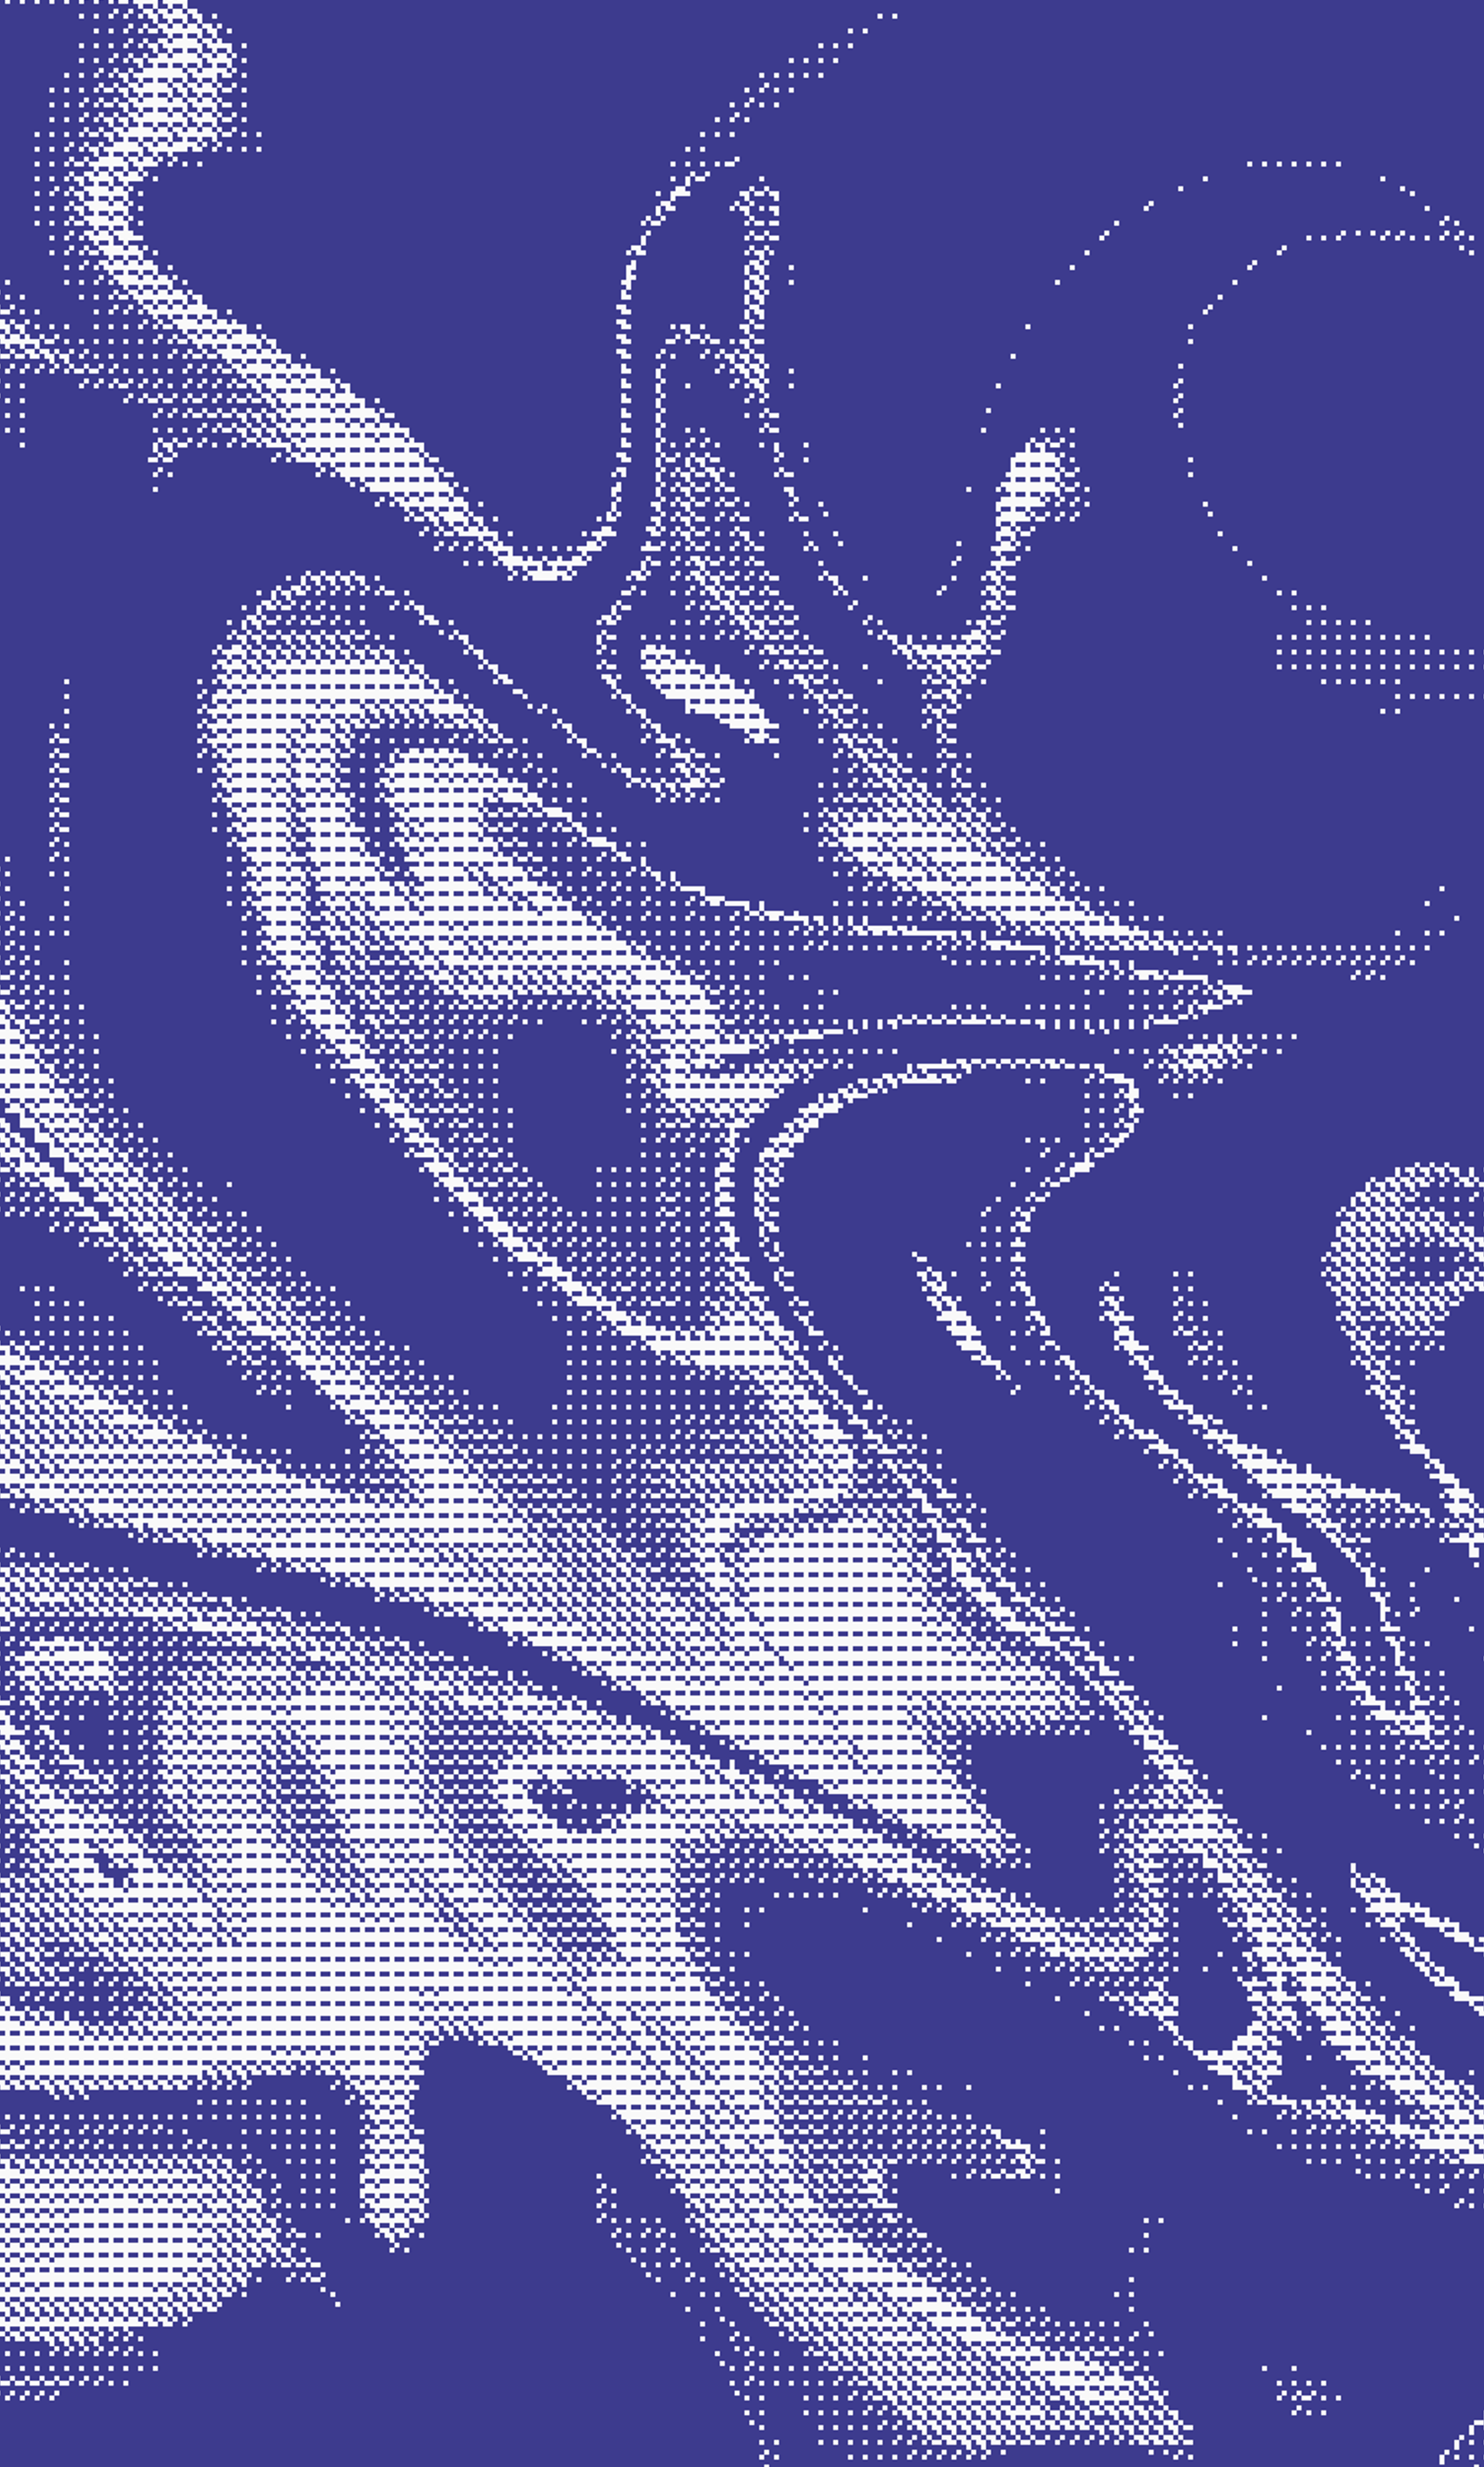
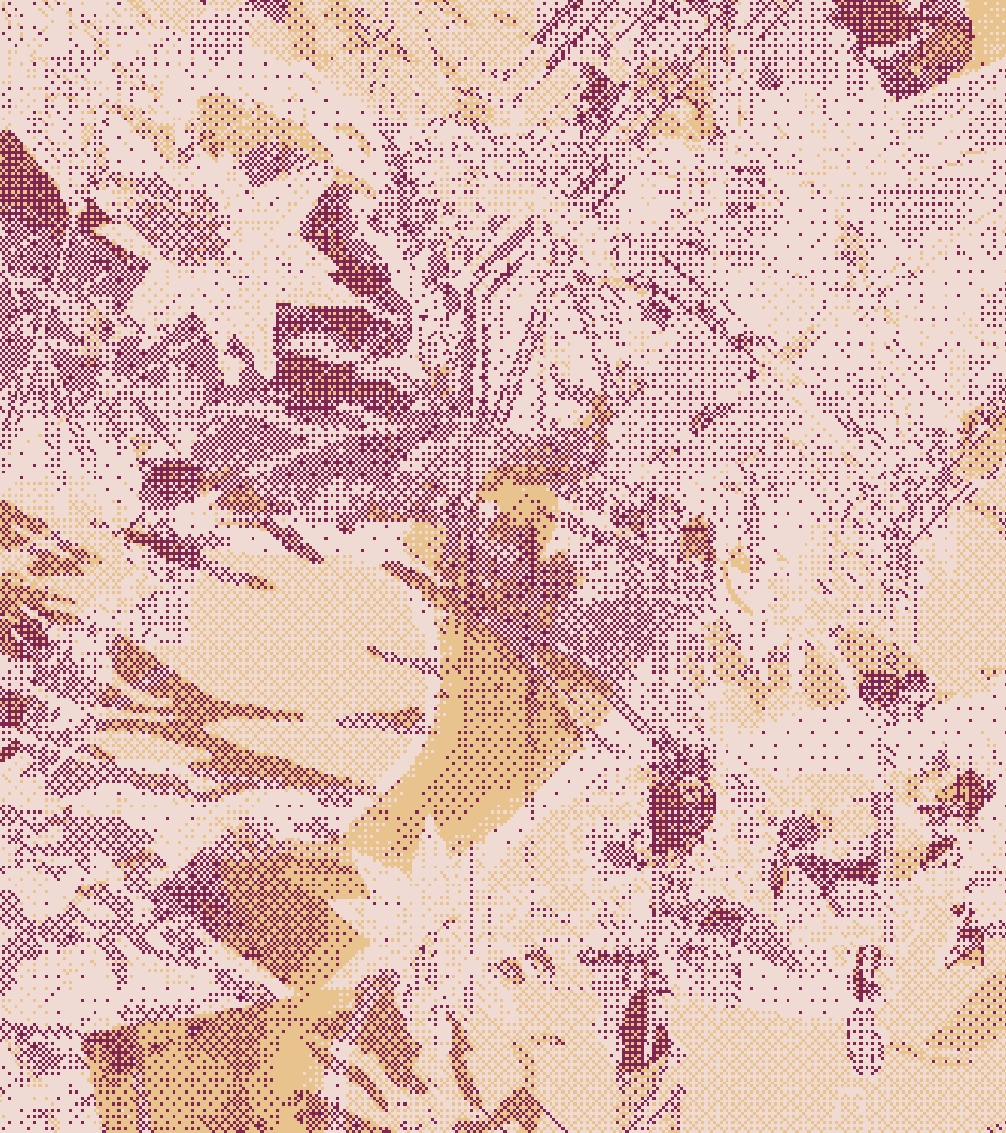
- Then I open up the result and zoom in to start scavenging for good shapes and textures. At this point I just take screenshots of anything I think looks interesting. I’ll rotate the image and repeat this process until I have a handful of screenshots.
- I’ll open a screenshot in csp to apply gradient maps, dial in the cropping, and adjust resolution and scale for posting (again, make sure to use hard edge interpolation). For gradient maps, I’ll start with saved presets (free gradient maps from csp asset store) but typically need to make adjustments for a better value range. Dithering seems to get really lost in the sauce easily so I’ve been leaning toward light backgrounds and trying to maintain high contrast.
If “apply dithering” with a link is nonsense (real) but, unfortunately, you do not have a programming gf (srry) click here
Uh, this is for windows, sorry to mac users, I think you have to run batch files from the command line. So you have an extra step.
Go to the releases page and download the file that is titled with your system info. Put the file in a folder with images you’d like to edit. Then create a text file but rename it “didder.bat” It's the .bat that’s important and your computer will give you a warning about changing extensions.
Right click the batch file > Edit. It should open in notepad. This is where you are going to put the bits that do things. There’s descriptions of the options and commands here. You'll tell your computer to run the executable with ".\FileName.exe" and then specify all the things you want to happen. It'll look something like this:
.\didder_1.2.0_windows_64-bit.exe --palette "ff9b49 074f51 5eb1bf" --strength "-1" -i "glitch4small.png" -o "glitch4-bbo3_64x64--s-1_scaling.png" -u 3 bayer 64x64
Save your file and close it. Now double click it.
~a dithered image appears~
You can go back to your batch file and keep changing your options and commands. You can use "::" in front of any line to comment it out to save iterations for later or make notes about them.